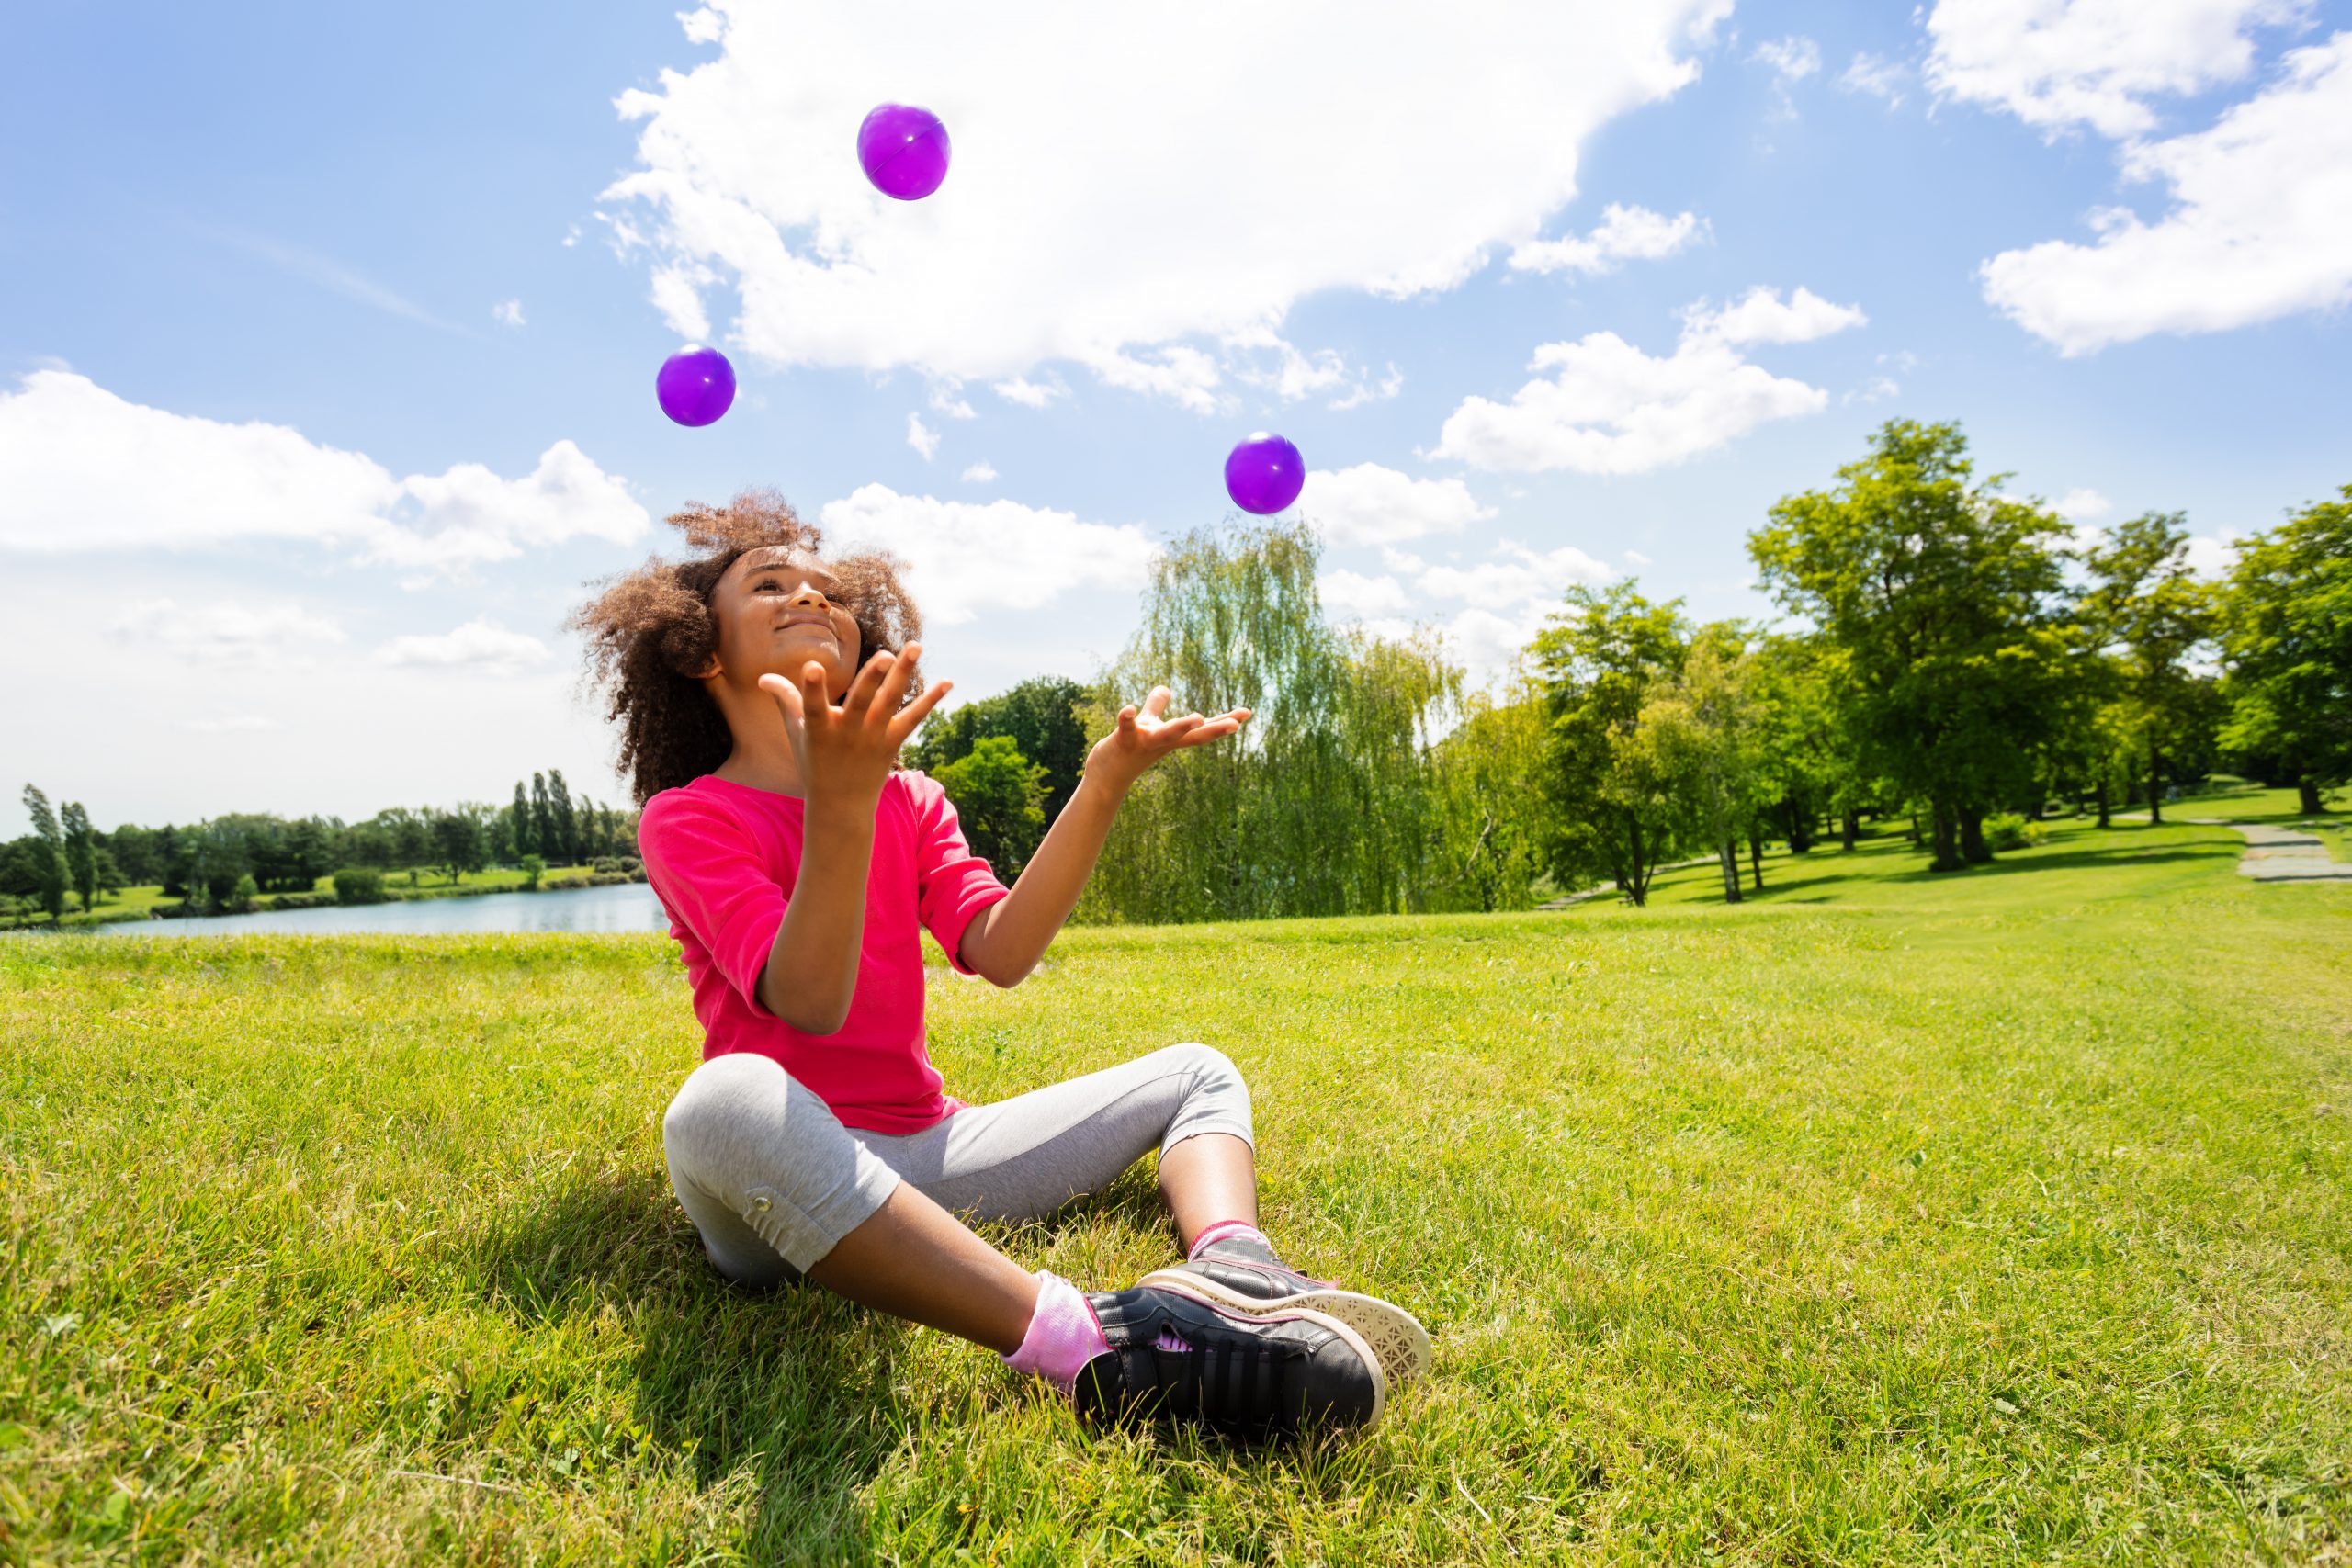
So, you’re an elementary teacher and you wonder why I’m suggesting including juggling, right? Well, one, it can be done in small spaces like your classroom, two, plastic grocery bags make for good scarves, and three, it can be good for the brain! From your experience with children, I’m sure you know avoiding sedentary behavior for them is a good thing. A simple juggle break may be just what they (and you) need when they are getting antsy. After all, it has been found that juggling may effectively stimulate different parts of the brain to improve neuroplasticity, or brain development (Malik, Stemplewski, & Maciaszek, 2022). It also requires crossing of the midline, which helps with higher order thinking, body awareness, and sensory integration.

Start Small
The key to incorporating juggling in your class is to do things in small increments and not overwhelm yourself or the students all at once. Keep in mind that you may not get through all steps in one session, so you can build each time!
- Start with each student having one scarf or plastic grocery bag in the dominant or favorite hand. Work on tossing from same side armpit level up and across to above opposite shoulder. If I’m right-handed, I pinch the scarf between my thumb and index and middle fingers, hold it in front of my right armpit, and toss it up to the left, releasing above my left eye. The scarf will drop straight down where I should be able to catch it with my left hand. Then I would have them try the same thing with the opposite hand (left armpit to start, up and to the right, releasing it above my right eye).
- Once they get the hang of this, have them add another scarf to begin with one in each hand. “Toss – toss – catch – catch” are key words here. They will “toss” with favorite hand across body first. Immediately “toss” with non-favorite hand across body next. Then “catch” with favorite hand and “catch” with non-favorite hand. They should try this for a while before moving forward to three or more objects.
- Next, add a third scarf or grocery bag. They will have two in the dominant hand and one in the non-dominant hand. One should be held with the thumb, index, middle finger while the other is held to the palm with the ring and pinky fingers. The cues for this round are “toss – toss – catch – catch – toss – catch – toss – catch – etc.” The main thing to remember is that they will always want have at least one object in the air at all times, sometimes two. They will start with the same steps as #2, except they will have to release the scarf from their dominant hand the second time before using that hand to catch the next scarf again.
- Once comfortable, students can begin using different objects to juggle or add more objects at one time.
Helpful Videos
For a sample video on juggling two scarves, see this link: https://www.youtube.com/watch?v=ve2FKNctOBg
Here is a video link for juggling three scarves: https://www.youtube.com/watch?v=uWiZ4fNqu5c
When you incorporate juggling into your class, refer back to many of the management strategies suggested in earlier blogs to keep students in control and to calm them down after the activity. I hope this will be an innovative and exciting movement break for you and your students! You may also want to use it as a reward for good behavior or positive performance. Happy juggling!
References:
Malik, J., Stemplewski, R., & Maciaszek, J. (2022). The effect of juggling as dual-task activity on human neuroplasticity: A systematic review. International Journal of Environmental Research and Public Health, 19(12), 7102.
Heather is a Professor in the Department of Kinesiology and Health Promotion at the University of Kentucky. She is a former physical education teacher, and co-author of Dynamic Physical Education for Secondary School Children, 8ed. Heather was also the recipient of the NASPE Curriculum and Instruction Young Scholar Award and a AAHPERD Research Consortium Fellow.


Leave A Comment